Laying XLock

For a successful installation with no unpleasant surprises, follow these simple rules illustrated below. They will guide you step by step to prepare your floor in the best possible conditions.
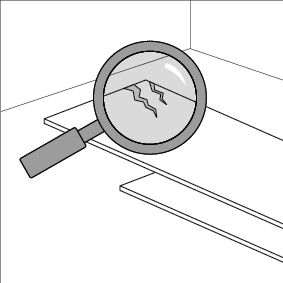
Inspect each plank before installation, they should not be damaged. If you notice any visible defects on a plank, do not install it!
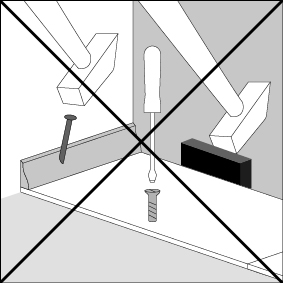
Laminate floorings must not be screwed or glued to the substrate and must be left free to move. The use of a tapping block is not necessary.
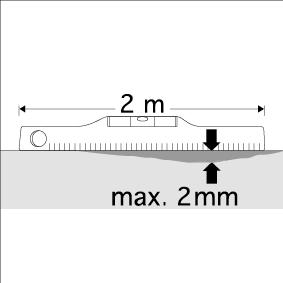
The substrate must be perfectly flat, clean and sound, with a maximum deviation of 2 mm under a 2-metre straight ruler. Level the substrate if necessary.
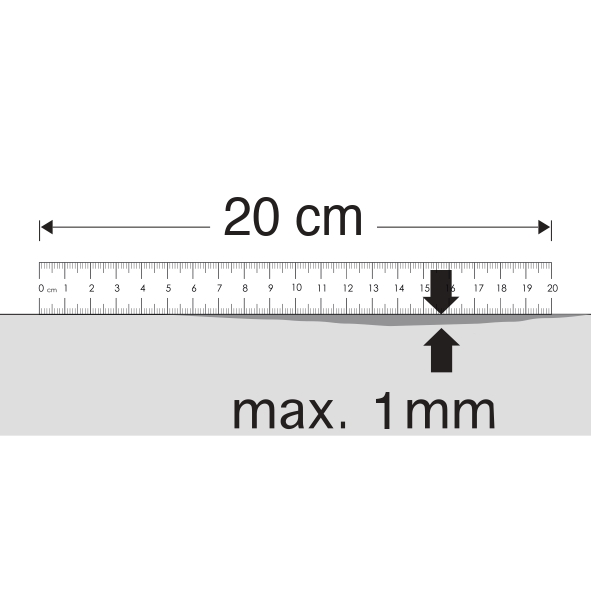
The surface must be perfectly flat, clean and sound, with a maximum deviation of 1mm under a 20cm small ruler. Level the surface if necessary.
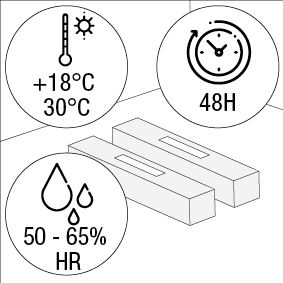
Before installation, leave the product closed in its original packaging, flat, in the room where it will be used for at least 48 hours. Observe the recommended temperatures and humidity levels.
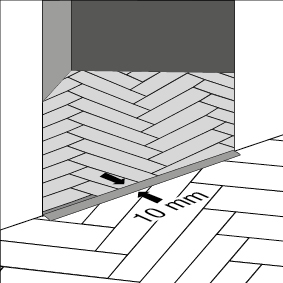
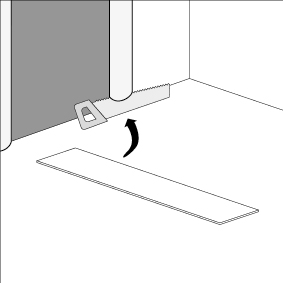
Leave a 10 mm expansion joint at the doorway.
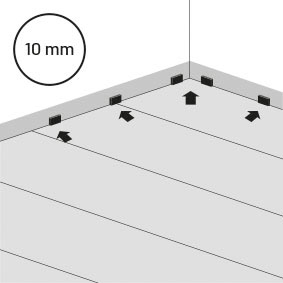
Never lay your laminate directly against the wall. Always leave a 10 mm expansion gap around the perimeter of the room.
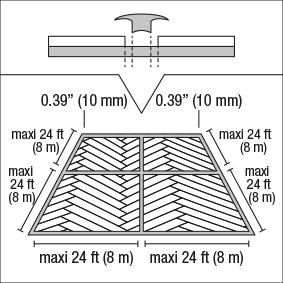
Add a split joint for herringbone installation in rooms larger than 8 x 8 metres.
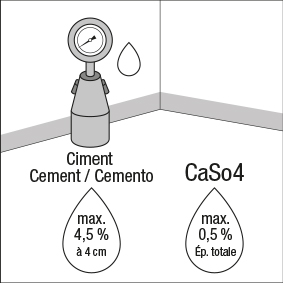
The residual moisture content of the screed, measured using a carbide bomb, must be less than or equal to 0.5% across the entire thickness. For cementitious self-levelling screeds, the moisture content must be 4.5% at 4 cm.
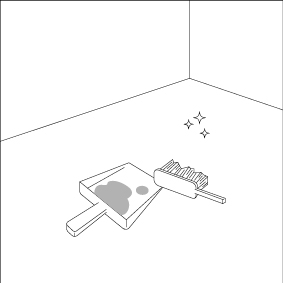
Before installation, thoroughly clean the floor to remove any dust or residue. The floor must be perfectly clean.
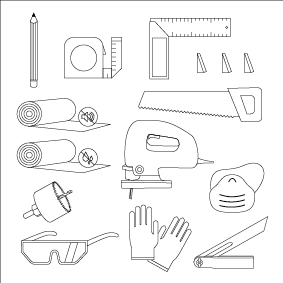
Prepare the right tools:
- 1 pencil
- 1 tape measure
- 1 set square and 1 carpenter's square
- expension wedges
- 1 suitable underlay
- cutting tools (jigsaw, etc.)
- D'ont forget to wear gloves, safety glasses and masks (PPE)

Install a 200 microns vapour barrier film to prevent moisture rising, leaving a 5 cm overlap on the wall.
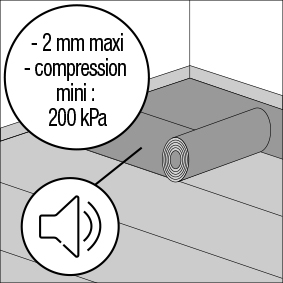
Use a soundproofing or thermal underlay suitable for herringbone laying.
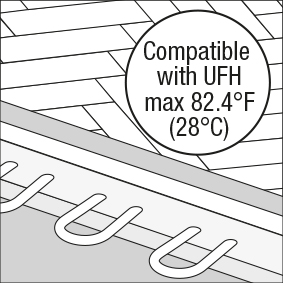
The thermal resistance of Alsaflooring laminate flooring allows it to be installed on low-temperature, electric underfloor heating systems (PRE) and PCR (underfloor heating and cooling systems). Follow the Alsaflooring installation protocol for underfloor heating.
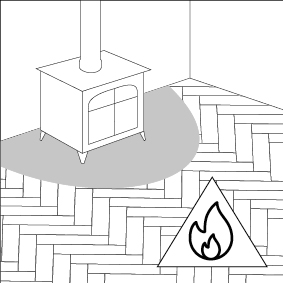
Protect your laminate flooring from ash splashes from stoves or fireplaces.
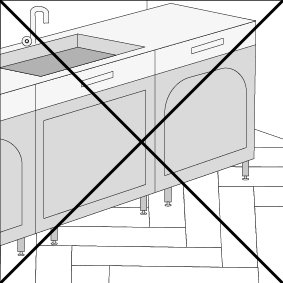
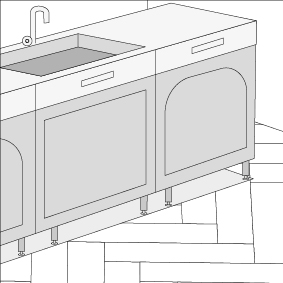
Do not place flooring under kitchen cabinets or central islands. In the event of a point load exceeding 100 kg/cm², it is advisable to use load distribution pads.
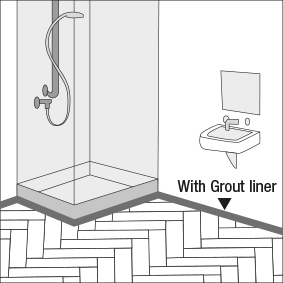
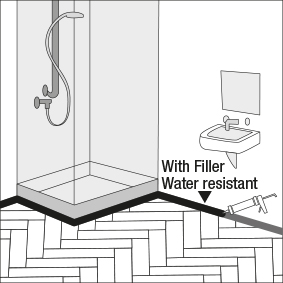
If you purchase a water-resistant (WR) floor, it can be installed in bathrooms. Don't forget to apply grout liner and filler around the perimeter of the room in the expansion joint.
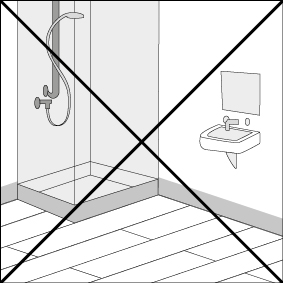
If you purchase a floor that is NOT Water Resistant (WR), installation in bathrooms is prohibited.
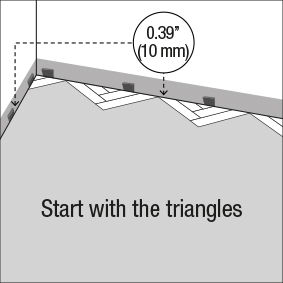
Start by laying the triangles along the wall, leaving a 10 mm expansion gap. Centre the triangles as you lay them. You can use our calculator to find out how many triangles to lay and how to cut them on the left and right sides of the wall.
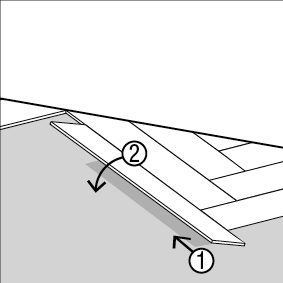
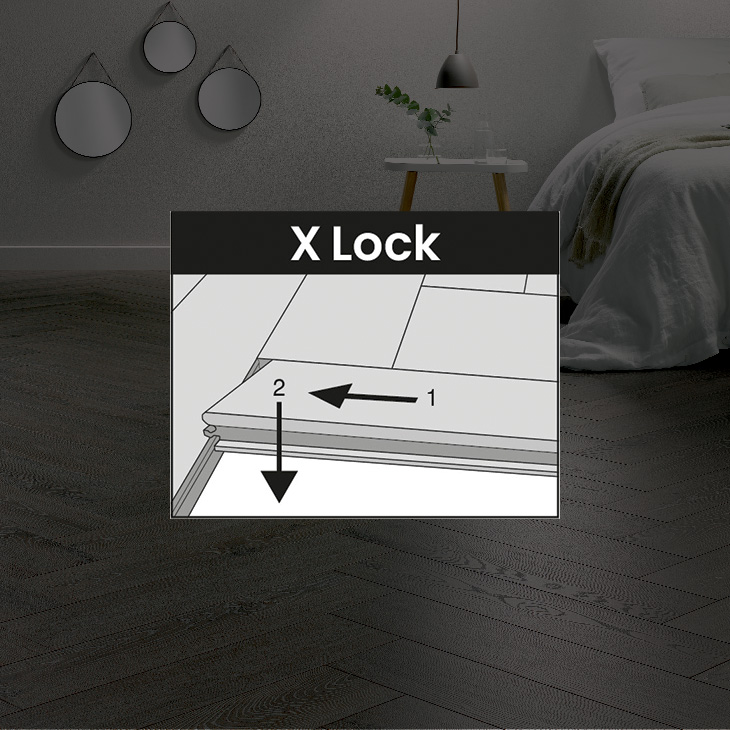
Next, insert the first plank (1) into the groove and then lower it to clip it into place (2).
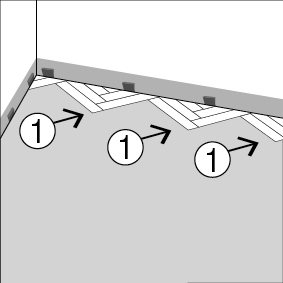
Start by laying the rows of boards on the right (1). Lay the boards from right to left.
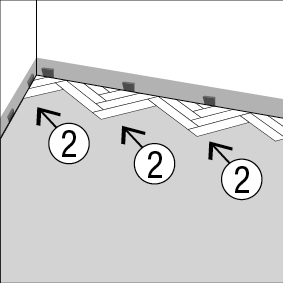
Repeat the process with the rows of planks on the left (2). The direction of installation is from left to right.
When passing through the doorway, recut the door frame to the new height if necessary.
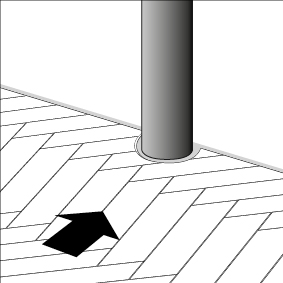
Cut the planks neatly around pipes and other obstacles, always leaving a 10 mm expansion joint.
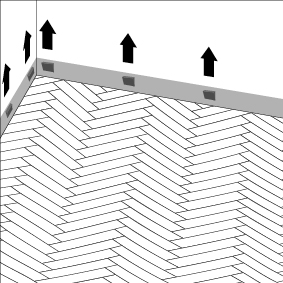
Once all the planks have been laid, remove the expansion wedges placed against the walls.
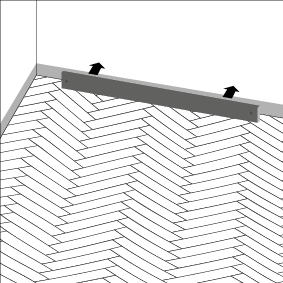
Install skirting boards (or finishing profiles) to cover expansion gaps while allowing the floor to move freely.
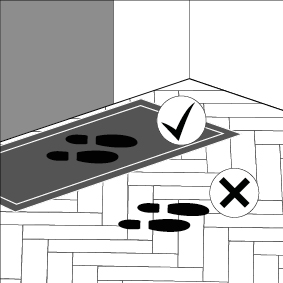
Access points from outside must be equipped with devices that trap moisture and abrasive particles brought in on soles and shoes (mats, doormats, etc.).
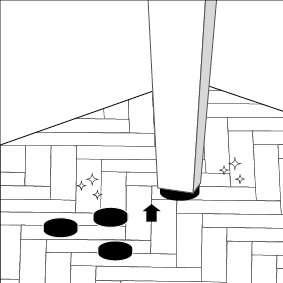
To prevent premature wear, the bases of furniture legs and seats should be fitted with felt or synthetic pads.

Seats and furniture with castors must be fitted with soft castors of type W.
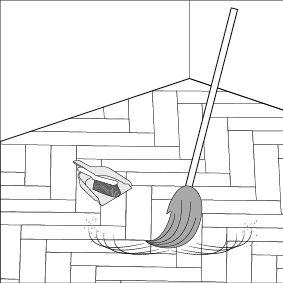
We recommend dry cleaning using a vacuum cleaner with a brush attachment without wheels or a broom. Clean the floor with a slightly damp, well-wrung mop. Do not use any cleaning products.
Clean the floor with a slightly damp, well-wrung mop.
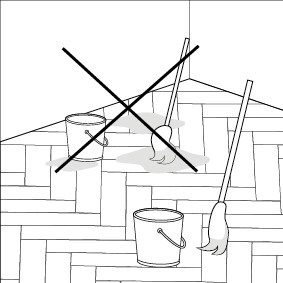
Never use steam cleaners.